 Image 1 of 2
 Image 2 of 2
Sample
Here’s an actual sample of the table block with texts and images.
| Scoring Place | Dog Name | Dog Breed | Dog Owner Name | Image |
|---|---|---|---|---|
| 1 | Fredinant | Mixed/Mutt | Franklin Roosevelt |  |
| 2 | Mister Darcy | Basset Hound | Jill Heath |  |
| 3 | Estella | Wirehaired Pointing Griffon | Kyle Pemberton |  |
| 4 | Gruff | Bullmastiff | Glen Smith |  |
| 5 | Timmy | Golden Retriever | Hurley Plimpton |  |
| 6 | Munches | Mixed/Mutt | Missi Lynn |  |
| 7 | Ralphie Dean | Bichon | Tanya Francis |  |
| 8 | Wally | Beagle | Gary Snoopy |  |
| 9 | Dr. Frankenstein | Mixed/Mutt | Brian Cummings | |
| 10 | Hooper | Boxer | John Doe |  |
| 11 | Corndog | Chocolate Lab | Si Robertson |  |
How it Works
This plugin uses the Markdown blocks to create Table Blocks. It hooks a markdown block and builds an HTML5 table that let’s you display texts, images and links.
You have 3 options to add your table data, you can:
Use a Google sheet and sync it with the table (most recommended)
Upload a CSV file
Input your data manually
Among the 3 options, the most convenient method is to use a Google sheet because it let’s you edit your data from the Google sheet and automatically sync it to the table after saving your changes.
Displaying Table on Mobile
To preserve readability of the data, the table is not shrink down but rather displayed in segment and scrolling is enabled so you can view the rest of the table data. Additionally, you have 2 options:
Scroll the table horizontally
Scroll the table vertically
Can I display the whole table on mobile?
Yes, you can display the whole table on mobile by shrinking it down with CSS code.
Installing the Table Plugin
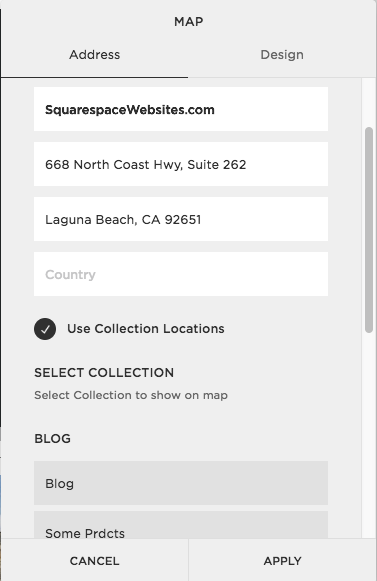
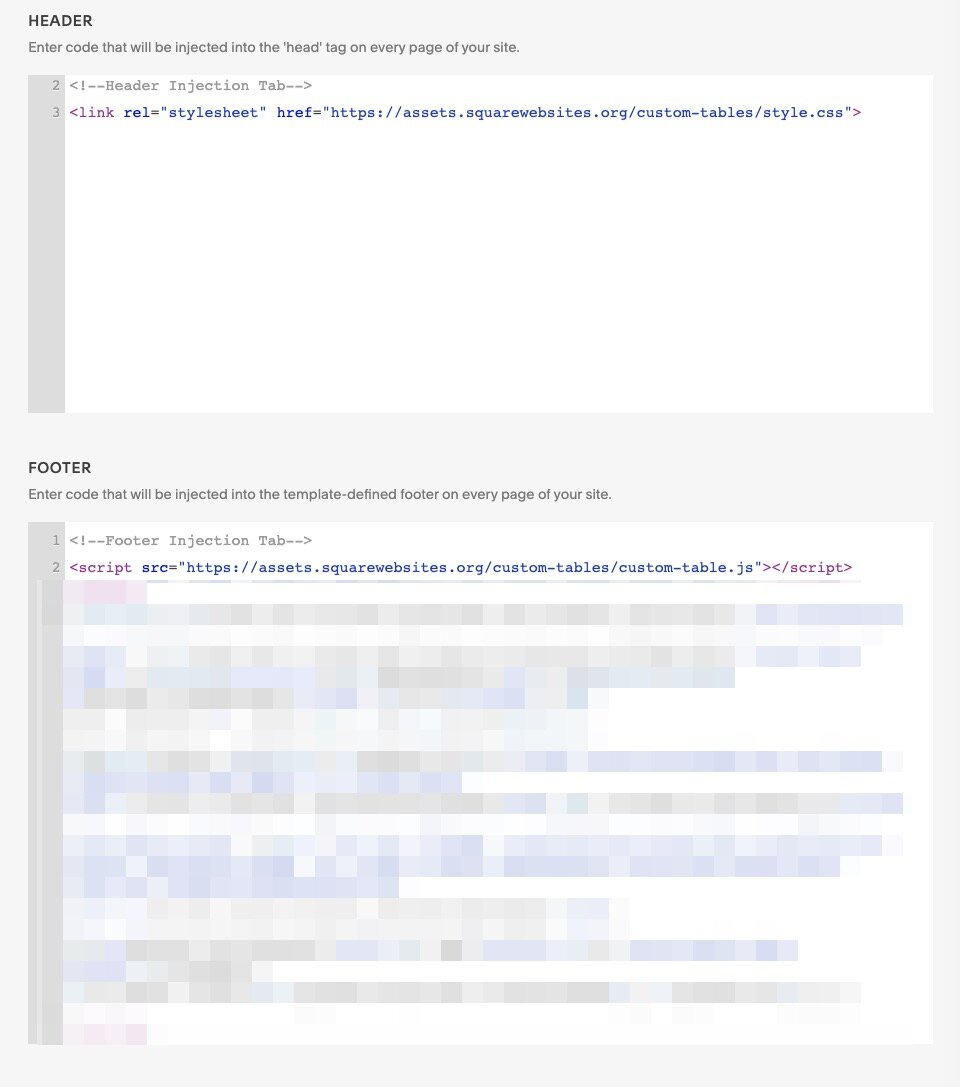
After you purchase a Custom Table Block license, you’ll receive a couple of important emails (an email with the links to the tutorials and another email that contains the code you need).
Copy the code in the text file in the email sent to you, then go to the Code Injection. Paste the CSS code in the Header while the JavaScript goes to the Footer. It’ll look like this:
Added Custom Table Block
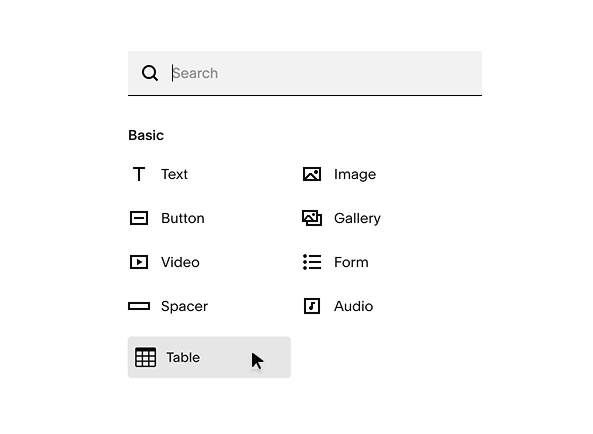
Adding Table Blocks
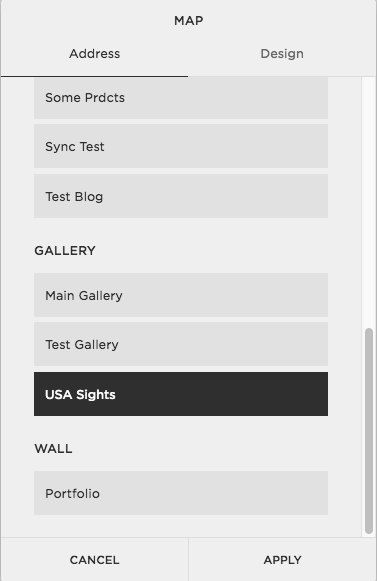
After you pasted the codes in Header and Footer Code Injections correctly, the Table block will be available on your Content Block menu. Type in table in the search bar of the Content Block menu to load the Table block icon.

Table Block in Content Blocks Menu
Creating Tables process is the same as using our PRO Extension, so please check next "how-to" video.

Removing rows and columns
Depending on the method you used to add your table’s data, the method of removing rows and columns differ. So just like with adding table data, there are 3 ways to remove them:
1. You used a Google Sheet
Simply delete the row or column you want removed in the Google sheet, save your changes and re-sync the sheet to the table.
2. You used a CSV file
Simply delete the row or column you want removed in the CSV file sheet, save your changes and re-upload the file.
3. You added your data manually
This option is currently unavailable after a Squarespace update stopped this option from working. So if you add your table data manually, you can only add and edit data in your rows and columns but not delete nor remove.
Styling Your Tables
The Custom Table Block plugin does not focus on styling. It rather prioritizes the ability to display your data and keep it readable so the Table Block’s styling is basic and simple. But you can customizable your table and you have 2 options to style it:
1. Use Google Sheet styling
This option simply follows whatever styling you applied on your Google sheet but is limited to whatever styling options are available in the Google sheet.
2. Use CSS code
Since the table is made with HTML code, you can edit the table style however you want with CSS code giving you way more options to style your table.
By default, the Table Block follows the font settings of your Squarespace site. So let's say you have many columns and you need to decrease the text size to 10px to fit your screen.
You’ll need to identify the CSS selector (a.k.a. class name) of the table elements you want to style (e.g. rows, columns, cells, header, etc.) then can add the styling rules you want. And you have 2 options to add your CSS code
Option 1. Add a new class name for your table
Table block has classes field, so in the Table Block settings, you go to Add custom class to your table and add fnt-size-10px, for example. Then go to Custom CSS and add a rule for this code.
table.fnt-size-10px {
    overflow: auto; /*allowing table be scrollable*/
    max-height: 70vh; /*limiting max height*/
    color: #000; /* set the font color */
    font-size: 10px; /*set the font size*/
    line-height: 1.4; /* set the text line-height */
    font-family: Helvetica; /* set font family */
    font-weight: 400; /* set font-weight  */
}
That's it! Any table you added the class name fnt-size-10px to will apply the CSS styling rules you specified.
Option 2. Use the current class name of the table
Each table row and cells has a class name that’s named after a number so if you want to set first column in bold, you use .table-cell-1 (cell is used for columns). Consequently, second column is .table-cell-2, and first row uses .table-row-1 so on and so forth.
.custom-table-block .table-cell-1 {
  font-weight: bold;
}
Advanced Usage
document.querySelector('table').addEventListener('table-init', function () {
 ----Your code here---
}, false);